How to Take Better Photos with Drones: The Basic Guide
Everything by TravelTrinkets > Published 2025
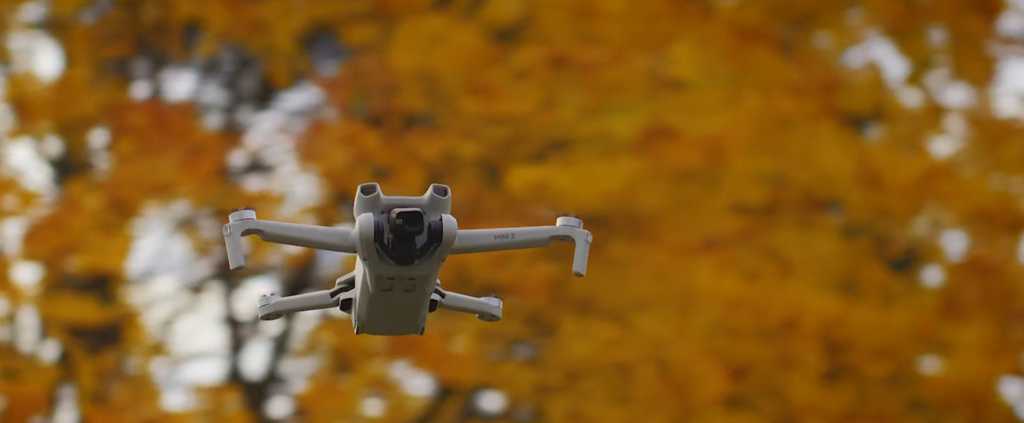
You’ve just scored the perfect drone, and you’re buzzing with excitement to snap some amazing shots. You get to your dream location, unpack the drone—and then it hits you. You have absolutely no idea how to use it. Suddenly, you’re staring at it like it’s a foreign object. Don’t panic! Take a breath, read through the manual, and maybe watch a quick tutorial. Before you know it, you’ll be soaring smoothly, one hover at a time!
How to Take Better Photos with Drones: The Basic Guide
Drone photography gives you a unique vantage point, allowing you to capture breathtaking photos from above. With the ability to shoot sweeping landscapes, close-up details of buildings, and even action shots, drones open up creative possibilities like never before. But taking great drone photos goes beyond just flying—it’s about understanding your drone’s camera settings, how to frame the perfect shot, and using the right lighting to make your images pop. Mastering these skills will give you the confidence to take amazing, high-quality photos every time you fly your drone. This guide will walk you through the essentials of getting the best photos with your drone, focusing on three key areas: camera settings, composition, and lighting.
Step 1. Mastering Camera Settings for the Best Shots
Understanding the settings on your drone’s camera is essential for capturing the best photos. You need to know how to adjust ISO, shutter speed, and white balance to ensure your photos are well-exposed, sharp, and vibrant. Playing with these settings allows you to achieve your desired look, whether you’re shooting under the midday sun or capturing low-light shots at dusk. Getting comfortable with these controls will take your drone photography from mediocre to professional. Once you know the basic principles of how these settings work together, you can experiment with different combinations to achieve your perfect shot.
1. Adjust ISO for Optimal Exposure
ISO controls how sensitive your drone’s camera is to light. The goal is to find a balance—setting your ISO too low in low-light conditions can lead to dark, underexposed photos, while setting it too high in bright conditions can introduce grain, making your images look noisy. A good rule of thumb is to keep the ISO as low as possible in bright daylight to keep your images crisp and clean. In dim conditions, increasing the ISO helps gather more light, ensuring a well-exposed photo. While increasing ISO can be helpful, be cautious as it can reduce the sharpness and introduce grain.
Tip 1: Lower ISO in bright conditions
• Lower ISO (100-200) helps maintain clarity in bright daylight.
• Avoids overexposure of light sources, like the sun.
• Keeps colors vibrant without introducing unwanted grain.
Tip 2: Increase ISO for low-light shots
• Higher ISO (400-800) lets in more light in dim settings like early mornings.
• Helps maintain sharpness in photos taken at dusk or dawn.
• Useful for detailed shots at twilight when light is fading.
Tip 3: Use Auto ISO for dynamic environments
• Auto ISO adjusts automatically to lighting changes, perfect for shifting conditions.
• Helps keep your focus on composition rather than constant settings adjustments.
• Convenient for fast-moving scenes or when lighting fluctuates rapidly.
2. Shutter Speed and Motion Control
Shutter speed plays a big role in how motion appears in your photos. A fast shutter speed (e.g., 1/1000s) will freeze motion, making your images crisp and clear, ideal for subjects in motion. If you want to capture motion blur—like the swaying of trees or a flowing river—you’ll need a slower shutter speed (e.g., 1/60s or lower). Slower shutter speeds let more light into the camera, which is great for low-light conditions but can cause blurry images if there’s any camera shake. Make sure you understand how shutter speed interacts with the aperture and ISO to get your desired effect.
Tip 1: Use fast shutter speeds for still subjects
• Fast shutter speeds (1/1000s or higher) freeze action, making photos sharp.
• Great for sports or moving subjects where clarity is essential.
• Keeps everything in the scene frozen in time without blur.
Tip 2: Slow down the shutter for motion effects
• Slower shutter speeds (1/60s or lower) create motion blur, adding drama.
• Ideal for scenes with flowing water or moving vehicles.
• Adds a sense of movement and life to the image.
Tip 3: Balance shutter speed with light
• A slow shutter needs more light, so adjust ISO or aperture accordingly.
• Be mindful of blur when using longer exposures in bright environments.
• Ensure you don’t overexpose while trying to capture a longer exposure shot.
3. White Balance and Color Control
White balance controls how colors appear in your photos, ensuring they look natural. If the white balance is off, your photos might have a blue or orange tint, which can make them look unnatural. For most outdoor shots, setting the white balance to Daylight will give you accurate, true-to-life colors. If you’re shooting in cloudy or shade conditions, adjust the white balance accordingly to warm up your photos and enhance the mood. For more artistic shots, you can adjust the white balance to give your photos a cool or warm tone, depending on the effect you want to achieve.
Tip 1: Set white balance to daylight for accurate colors
• Daylight (5200K) keeps colors natural in bright outdoor conditions.
• Eliminates any unwanted color tints from sunlight or clouds.
• Ensures vibrant colors that stay true to the scene.
Tip 2: Adjust white balance for mood
• Cloudy white balance adds a warm tone to photos, perfect for sunsets.
• Creates a cozy, inviting feel, enhancing the mood of the image.
• Great for golden hour photos or cloudy environments.
Tip 3: Fine-tune white balance for specific effects
• Manual adjustment can create unique looks with cool or warm tones.
• Perfect for artistic shots or specific lighting effects.
• Experiment to enhance the natural environment or create a fantasy feel.
Step 2: Composition and Framing for Stunning Drone Photos
The key to taking great photos is not just about what’s in front of you, but how you frame it. Composition is an art form that can make even a simple scene look amazing. Drone photography opens up the ability to frame shots from different angles, at various heights, and in ways that you simply can’t do with traditional cameras. Understanding how to apply the rule of thirds, experiment with angles, and choose the best perspective will dramatically improve your shots. Learning how to control your framing and balance is vital for creating images that capture attention and tell a story.
1. Use the Rule of Thirds for Balanced Photos
The rule of thirds is one of the most effective composition techniques. Imagine your frame split into a grid of nine equal sections by two horizontal and two vertical lines. Placing the key elements of your photo along these lines, or where they intersect, creates a more dynamic and engaging shot. For example, placing the horizon along the top or bottom line gives the photo a natural flow and prevents the scene from feeling too static. This is especially helpful in drone photography, where you can capture sweeping landscapes from various angles and perspectives.
Tip 1: Position key elements along the grid lines
• Aligning objects like trees or buildings along the lines creates balance.
• Prevents your subject from feeling centered or too rigid.
• Adds a natural flow and directs the viewer’s eye.
Tip 2: Place the horizon off-center
• Positioning the horizon along the top or bottom line keeps the photo engaging.
• Helps maintain depth in your landscape shots.
• Adds visual interest, guiding the viewer’s eye naturally across the image.
Tip 3: Use intersections for focal points
• The intersections of the grid are ideal spots for your subject.
• Creates harmony by placing important elements where the eye naturally goes.
• Helps make the composition feel balanced and pleasing to the viewer.
2. Experiment with Angles for Unique Shots
Drone photography offers you the chance to experiment with angles and perspectives that wouldn’t be possible with a regular camera. Shooting from directly above creates a bird’s-eye view, while shooting from an angle can highlight interesting textures or patterns in the landscape below. By changing your altitude and angle, you can create more dynamic shots that bring out unique details in your surroundings. Whether you’re capturing sweeping mountain ranges or architectural details, your drone allows you to experiment with new perspectives for more compelling images.
Tip 1: Shoot from above for a bird’s-eye view
• Capture a wide view of the landscape, highlighting patterns or contrasts.
• Great for landscapes or cityscapes where the symmetry stands out.
• Shows the bigger picture, giving depth to your photo.
Tip 2: Change angles for drama
• Tilt your drone at a slight angle to reveal more of the scene’s texture.
• Adds dimension and depth, especially in urban environments.
• Highlights unique aspects of the environment, like buildings or roads.
Tip 3: Play with height for perspective
• Lowering or raising the drone’s altitude can give a new view of familiar subjects.
• Ideal for capturing interesting shapes or depth in architecture.
• Adds an element of mystery by providing unexpected perspectives.
3. Consider the Background for Context
When framing your shot, it’s important to think about the background as much as the foreground. A busy or distracting background can take away from the subject of your photo, while a simple and clean background allows the subject to pop. Make sure the background complements your subject and doesn’t compete with it for attention. In some cases, you might want to use a blurred background to draw focus to your subject, which can be achieved through depth of field adjustments or changing the distance between the subject and the background.
Tip 1: Choose a clean background
• A simple background doesn’t compete with your subject, allowing it to stand out.
• A clear sky or wide-open space works great for this effect.
• Prevents your image from feeling too crowded or visually overwhelming.
Tip 2: Use natural elements to complement the subject
• Trees, mountains, or rivers can frame your subject naturally.
• These elements add context to your photo without distracting from the main focus.
• Use natural features to lead the viewer’s eye into the image.
Tip 3: Consider the background for mood
• The background can greatly influence the mood of your photo.
• A sunset can add warmth, while a cloudy sky can evoke a mysterious or dramatic tone.
• Think about the feeling you want to convey with your shot.
Step 3: Lighting: The Key to Vibrant Photos
Lighting is perhaps the most important aspect of any photograph, and it’s no different in drone photography. The right lighting can transform an ordinary shot into something spectacular. Whether you’re capturing golden hour shots or experimenting with backlighting, understanding how light interacts with your subject will make a huge difference. The best drone photos often come from experimenting with different lighting conditions to add warmth, contrast, and depth to your shots. It’s all about knowing when and how to use the light available to you.
1. Capture the Golden Hour for Stunning Effects
Golden hour refers to the period just after sunrise or just before sunset, when the sun casts a soft, warm glow over the landscape. During this time, the light is perfect for drone photography, offering beautiful contrasts and vibrant colors that make your shots feel more magical. The longer shadows and gentle light highlight textures and add depth to your photos. Shooting during golden hour can also help you avoid harsh shadows and overexposure from the midday sun.
Tip 1: Shoot during the golden hour
• The soft light creates warm, flattering tones in photos.
• Longer shadows enhance textures and add depth to your image.
• Perfect for capturing vibrant, dynamic landscapes.
Tip 2: Use the low sun angle for dramatic lighting
• The low sun creates interesting shadow play, emphasizing shapes.
• Adds depth and contrast, especially in the early morning or late evening.
• Creates a dreamy effect, perfect for capturing serene landscapes.
Tip 3: Capture silhouettes during golden hour
• The setting or rising sun makes the subject silhouetted, adding drama.
• Creates a mysterious effect by backlighting your subject.
• Highlights the outlines of objects like trees or buildings.
2. Experiment with Backlighting for Drama
Backlighting is when your light source is behind your subject, causing the subject to appear as a silhouette while the light creates a halo effect around it. This technique can add mystery or drama to your photos, particularly when capturing objects like trees, people, or buildings. The soft, diffused light from backlighting can also create an ethereal glow, giving your photos a unique, artistic feel. Understanding how to use backlighting effectively will give your images a creative edge.
Tip 1: Use the sun as a backlight
• Position your subject with the sun behind it for a glowing effect.
• Adds contrast and gives the subject a mysterious silhouette.
• Creates soft lighting that’s flattering for natural subjects.
Tip 2: Capture sunbursts for dramatic effects
• Position your drone so that the sun peaks through objects like trees or buildings.
• Creates a stunning sunburst effect, adding drama and texture.
• Great for capturing sunset or sunrise shots with a bold focal point.
Tip 3: Balance exposure for backlit shots
• Use manual exposure settings to prevent underexposure of the subject.
• Adjust ISO and shutter speed to keep the subject visible while maintaining the light effect.
• Fine-tune to get the right balance between subject detail and light.
3. Use Diffused Light for Soft, Even Exposure
Sometimes, direct sunlight can create harsh shadows or overexposure, especially if your drone is flying high. In these situations, diffused light—like light on an overcast day or in the shade—can help soften your photos. Soft light helps highlight textures without the contrast and shadows that can distract from your subject. This is particularly useful when shooting portraits or close-up shots, as it creates more even exposure without harsh lines.
Tip 1: Use cloudy days for soft lighting
• The cloudy sky acts like a giant diffuser, spreading the light evenly.
• This creates a much softer, more natural look, reducing the need for excessive editing.
• Perfect for capturing delicate details or portraits, where you don’t want harsh shadows stealing the spotlight.
Tip 2: Utilize shaded areas for even light
• Shade can give you the consistent lighting you need for a more balanced exposure.
• It’s especially useful for avoiding those tricky moments when the sun casts hard shadows on your subject.
• Shooting under trees, buildings, or any sort of natural or artificial shade helps to get an evenly lit photo without a lot of hassle.
Tip 3: Use ND filters to diffuse light
• A Neutral Density (ND) filter reduces the intensity of sunlight, helping you get that soft, diffused look.
• By blocking out some of the light, it prevents overexposure while maintaining a nice sharpness in your photos.
• ND filters help you capture smooth, fluid shots even in the brightest sunlight, keeping everything balanced and natural.
Bonus: The Best Drones On The Market Right Now

The Best drones under $300: Budget But Quality
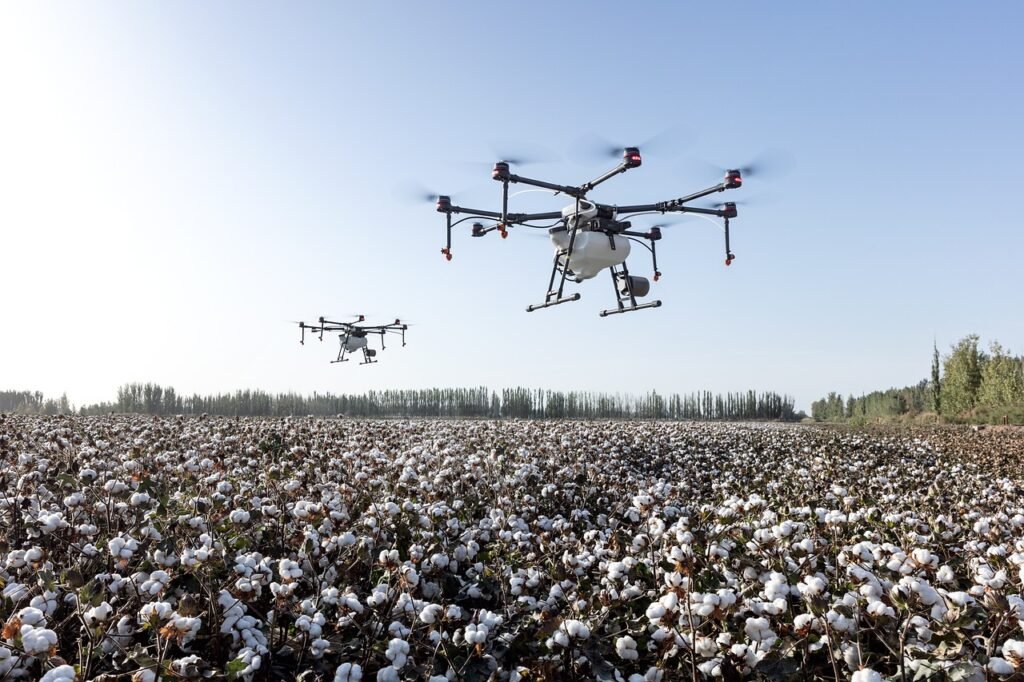
Choosing the right drone is key to capturing stunning photos. Look for one with a high-quality camera—ideally, something that shoots at least 4K resolution, so your images come out sharp and clear. You’ll also want a drone with stable GPS and a gimbal to keep your shots steady, especially during windy conditions. A long battery life (20+ minutes or more) ensures you won’t run out of time mid-shoot. And if you’re traveling, consider a drone that’s compact and easy to carry. Ultimately, finding the right balance between performance and portability will make your flying and photography experience a lot more enjoyable.
Final Thoughts: Elevating Your Drone Photography Skills to the Next Level
Mastering drone photography is all about combining technical skills with your creativity. It’s not just about flying your drone; it’s about understanding the camera settings, composition techniques, and lighting conditions that can make your photos truly stand out. With a solid grasp of ISO, shutter speed, and white balance, you’ll have the power to control your shots, no matter what the environment throws at you. Composition, from the rule of thirds to experimenting with angles, allows you to transform ordinary shots into extraordinary ones. And of course, lighting can turn your drone photos from good to breathtaking, whether you’re chasing the golden hour or using diffused light to create soft, even exposures. Remember, drone photography is about exploration, creativity, and never being afraid to try something new. Keep flying, keep shooting, and your skills will soar higher with every click.