
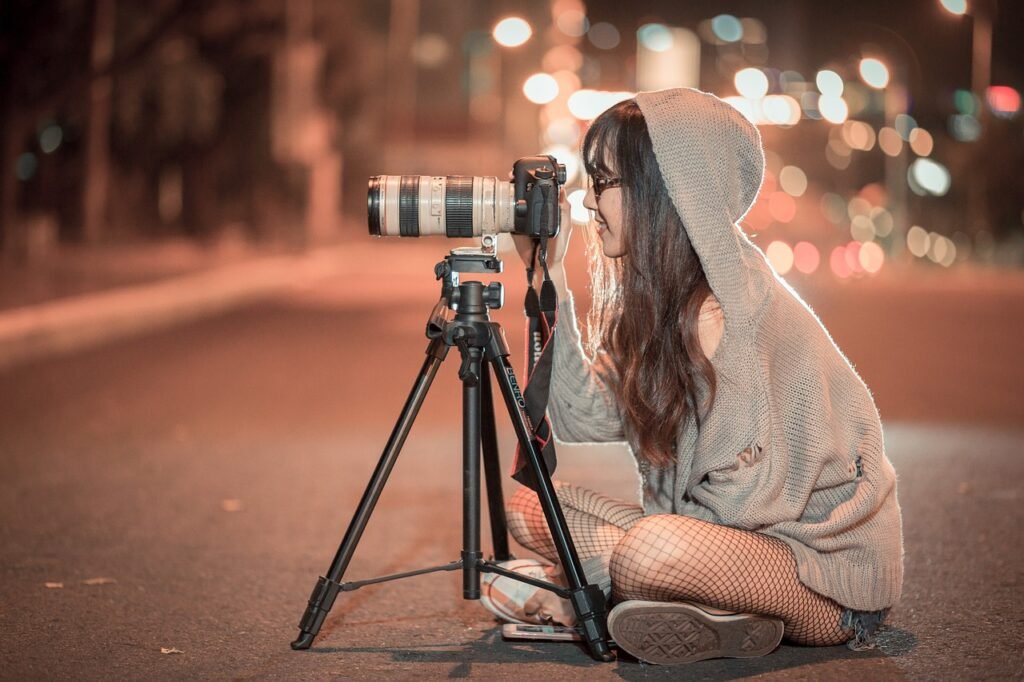
The Ultimate Guide to Capturing Better Photos: All necessary techniques
Everything by TravelTrinkets > Published 2025
We’ve all been there—snapping away, thinking we’ve got the perfect shot, only to realize later that something went wrong. Maybe the focus is off, the lighting is off, or you forgot to take the lens cap off (guilty!). It can be frustrating in the moment, but honestly, that’s just part of the journey. Every photographer has their “oops” moments! The beauty of it is that these mistakes teach us something valuable. The next time you’re out there, you’ll be more aware, more prepared, and ready to nail it. So, laugh it off, learn from it, and keep shooting!
The Ultimate Guide to Capturing Stunning Travel Photos
Travel photography is all about capturing the essence of your adventures, holding onto those unforgettable memories in a way words just can’t. Whether you’re strolling through bustling cities, soaking up the serenity of a mountain range, or snapping candid moments of local life, great photos make your travel experiences come alive long after the trip is over. But how do you go from a good photo to a great one? In this guide, we’ll walk you through the basics of travel photography—everything from getting to know your camera settings to mastering light and composition. By the end, you’ll be well on your way to capturing photos that tell the story of your travels in a way that’s both beautiful and memorable.
Section #1: Understanding the Basics of Travel Photography
Before you can start snapping like a pro, you need to master the fundamentals. Whether you’re using a smartphone or a DSLR, getting familiar with key settings like ISO, aperture, and shutter speed will make a huge difference in the quality of your shots. When you understand how these settings affect your photos, you’ll be able to adjust them based on the light around you, capturing images that truly reflect your travel experience. So, let’s dive into the basics that will make your photos shine.
1. Get to Know Your Camera or Smartphone
Getting to know your camera is a game-changer. It doesn’t matter if you’re shooting with a smartphone or a high-end DSLR—understanding your device is the first step in taking amazing photos. Play around with the settings like ISO, aperture, and shutter speed. If you’re using a smartphone, check out apps that give you manual control over your settings for more flexibility. Understanding what your camera can do helps you make the most of every shot, no matter where you are or what you’re shooting.
Tip #1: Explore your camera settings
• Get comfortable with manual modes for more control.
• Try adjusting ISO, shutter speed, and aperture to see how they affect your photos.
• Practice so you can work with your camera naturally, without having to fiddle around when a great moment presents itself.
Tip #2: Use the grid feature
• This helps you with composition, keeping everything nicely aligned.
• Use the rule of thirds for a more dynamic shot.
• It’s a simple trick to avoid clutter and distractions in your photos.
Tip #3: Avoid excessive zooming
• Instead of zooming in, move closer to your subject.
• Digital zoom reduces the quality, so it’s better to adjust your position.
• A closer shot often gives you a more natural and compelling perspective.
2. Shoot in RAW Format
If you’re serious about editing your photos later, shooting in RAW is the way to go. Unlike JPEG, which compresses and discards some of the image data, RAW files retain all the details, giving you the flexibility to make edits without compromising quality. It’s especially helpful when you’re dealing with tricky lighting or colors that need adjusting later. Yes, RAW files take up more space, but the benefits in post-processing are totally worth it.
Tip #1: Shoot in RAW
• Provides better editing flexibility, preserving all the data from your shot to adjust exposure, colors, and contrast more effectively.
• Ideal for post-processing, as it allows you to tweak your photos without losing quality.
• Great for tricky lighting situations, where RAW can help you recover details in both shadows and highlights.
Tip #2: Use RAW for landscapes
• Captures more detail in expansive scenes, helping you retain textures and subtle nuances in the environment.
• Provides more editing headroom, allowing you to adjust settings like exposure or contrast without damaging the image.
• Reveals textures and fine details in nature shots, helping to showcase the beauty of the environment more clearly.
Tip #3: Check focus and exposure
• Quickly review your shot to ensure both focus and exposure are spot on before moving on.
• Adjust settings as needed, ensuring the shot meets your expectations before it’s too late.
• Prevents missed opportunities, allowing you to correct issues in real-time, rather than relying on post-editing.
3. Proper Exposure and Focus
Getting the exposure and focus just right is key to making your photos pop. Exposure is all about making sure your photo isn’t too dark or too bright, while focus keeps your subject sharp and clear. Lighting changes quickly when you’re out and about, so knowing how to adjust these on the fly will help you avoid missed opportunities. Always check focus before you snap the photo and make sure the exposure is balanced so you don’t lose important details.
Tip #1: Shoot in RAW
• Provides better editing flexibility, preserving all the data from your shot to adjust exposure, colors, and contrast more effectively.
• Ideal for post-processing, as it allows you to tweak your photos without losing quality.
• Great for tricky lighting situations, where RAW can help you recover details in both shadows and highlights.
Tip #2: Use RAW for landscapes
• Captures more detail in expansive scenes, helping you retain textures and subtle nuances in the environment.
• Provides more editing headroom, allowing you to adjust settings like exposure or contrast without damaging the image.
• Reveals textures and fine details in nature shots, helping to showcase the beauty of the environment more clearly.
Tip #3: Check focus and exposure
• Quickly review your shot to ensure both focus and exposure are spot on before moving on.
• Adjust settings as needed, ensuring the shot meets your expectations before it’s too late.
• Prevents missed opportunities, allowing you to correct issues in real-time, rather than relying on post-editing.
Section 2: Mastering Lighting for Travel Photography
Good lighting can make or break a photo. Whether you’re working with bright sunlight or the soft glow of an indoor light, understanding how to use light to your advantage will take your photography to the next level. Different times of day—like golden hour, overcast skies, and midday sun—offer different opportunities and challenges. Master these different lighting conditions, and you’ll be able to capture photos that stand out.
1. Take Advantage of Golden Hour
Golden hour, the first hour after sunrise and the last before sunset, provides warm, soft light perfect for landscapes and portraits. The sun casts long shadows and rich colors, creating a beautiful atmosphere. Planning your shoots around this period ensures the best lighting. Whether shooting portraits or wide landscapes, golden hour adds depth and warmth to your shots. Utilizing this time effectively can make an ordinary scene look extraordinary and dramatically improve your travel photography results.
Tip #1: Plan shoots around golden hour
• Arrive early or stay late for the best light.
• Ideal for landscapes and portraits.
• Enhances mood and depth.
Tip #2: Use warm light for portraits
• Flattering for skin tones.
• Creates a natural, soft glow.
• Enhances facial features.
Tip #3: Experiment with silhouettes
• Position your subject against the sun.
• Adds drama and artistic effect.
• Works well for storytelling.
2. Understand Lighting in Different Conditions
Understanding different lighting conditions can elevate your travel photos. Cloudy days offer soft, diffused light that’s perfect for portraits and natural shots. However, midday sun can cause harsh shadows and overexposure. Experiment with backlighting for creative effects—this creates contrast and a glowing outline around your subject. By recognizing when to embrace softer light and avoid harsh midday sun, you’ll be able to capture dynamic and vibrant photos that truly reflect your surroundings.
Tip #1: Shoot in soft, diffused light
• This soft light helps reduce harsh shadows, giving your photos a natural and even look.
• It’s perfect for portraits because it enhances skin tones and provides a more flattering result.
• On cloudy days, you get this type of light for free—perfect for capturing crisp, beautiful shots.
Tip #2: Use backlighting for drama
• Backlighting can add incredible contrast, especially when your subject stands out against a vibrant sunset or light source.
• It’s amazing for portraits and nature shots because it creates a glowing outline around your subject, making them pop.
• It’s a great way to add drama and mood, especially when you want your photos to tell a more compelling story.
Tip #3: Avoid midday sun
• Midday sun can be pretty harsh, leaving strong shadows and washed-out details in your photos.
• By avoiding the brightest part of the day, you can ensure your subject is well-lit without those overexposed areas.
• This light is perfect for portraits and nature shots, where you want even illumination across the scene.
3. Use Artificial Lighting When Necessary
Artificial lighting can be a lifesaver when natural light isn’t enough, especially in low-light or nighttime conditions. A portable light source helps brighten your subject and ensures they aren’t lost in darkness. Bouncing light off walls softens its intensity, creating a more flattering effect. Using diffusers can further reduce harshness, ensuring a smooth, even glow. With the right artificial lighting, you can enhance your photos, making every detail stand out in the best possible way.
Tip #1: Use a portable light source
• A portable light is a lifesaver in low-light conditions, whether you’re inside or out at night.
• It helps fill in shadows on your subject’s face, ensuring they aren’t lost in the dark.
• The best part? You can move it around to create different lighting effects, depending on the vibe you’re going for.
Tip #2: Bounce light for soft illumination
• Bouncing light off a wall or ceiling can soften the harshness of direct light, giving your photos a more natural and polished feel.
• It helps bring out textures and depth, especially when you’re shooting portraits or capturing details.
• This technique works wonders in indoor environments, where direct light might feel too intense or unflattering.
Tip #3: Use diffusers to soften light
• Diffusers can help tame bright light and spread it evenly across your subject.
• This softens the light, making it more flattering and balanced, particularly in portrait photography.
• It’s an easy way to reduce contrast and make your subject look smooth and natural, no matter the setting.
Section 3: Composing Your Travel Photos
Composition is a fundamental element in any great photograph. It’s all about arranging the visual elements in your frame to guide the viewer’s eye and create a compelling story. By mastering composition techniques like the rule of thirds, leading lines, and framing, you can create travel photos that stand out. It’s not just about what you’re photographing—it’s about how you present it. The more you practice composition, the more your photos will evoke the emotions and experiences of your travels.
1. Use the Rule of Thirds
The rule of thirds is a simple yet powerful technique that can instantly improve your travel photos. By dividing your frame into nine equal parts with two horizontal and two vertical lines, you can place your subject or focal point at one of the four intersections. This creates a balanced and visually appealing image that guides the viewer’s eye. Whether you’re capturing landscapes, street scenes, or portraits, the rule of thirds helps maintain interest and keeps the focus on the most important part of your shot.
Tip #1: Place subjects at the intersections
• Position key elements of your scene at the intersections of the grid.
• This creates a more dynamic and balanced photo.
• It prevents the photo from feeling too static or uninteresting.
Tip #2: Align horizons along the lines
• For landscapes, try aligning the horizon along one of the horizontal grid lines.
• This gives the image a clean and natural look while avoiding a division in the middle.
• It adds depth and dimension to your scene.
Tip #3: Leave space for your subject to look into
• When shooting portraits or action shots, allow space in front of the subject for them to “look into.”
• This makes the photo feel more natural and less cramped.
• It adds a sense of movement and flow to the composition.
2. Use Leading Lines
Leading lines are a great tool to guide the viewer’s eye through your image. They can be roads, rivers, fences, or any natural or man-made structures that direct attention toward a point of interest. Using leading lines effectively adds depth and draws the viewer’s eye to the most important elements in your travel photos, whether it’s a person, a monument, or a beautiful landscape.
Tip #1: Find lines that lead toward the subject
• Look for roads, paths, or rivers that naturally draw the eye to the focal point.
• These lines create a sense of journey or discovery.
• They add a dynamic element to the composition.
Tip #2: Use lines to create perspective
Leading lines can also create a sense of depth and perspective in your photos.
They help the viewer feel like they’re entering the scene or walking into the frame.
This works especially well for wide landscape shots or street photography.
Tip #3: Avoid distractions
• While leading lines can enhance a photo, avoid lines that distract from the subject.
• Keep the lines simple and uncluttered.
• The purpose is to guide the viewer’s eye, not overwhelm them.
3. Frame Your Subject
Framing helps highlight your subject and provides context for the scene. You can use natural elements like windows, doorways, arches, or even tree branches to frame the subject. Framing draws attention to the main subject and adds a sense of depth to your photo. It creates a feeling of focus and allows the viewer to understand the context of your photo in a more meaningful way.
Tip #1: Use natural elements to frame the subject
• Position your subject within doorways, windows, or arches to naturally draw attention to them.
• Framing adds depth and makes the subject stand out.
• It provides context, telling a story about the location.
Tip #3: Don’t over-clutter the frame
• Add interest to your photos by incorporating elements in the foreground, like plants or objects.
• This creates a sense of depth and layers in your image.
• Foreground elements help tell a more complete story about the scene.
Tip #3: Check focus and exposure
• Keep framing elements subtle so they don’t distract from the subject.
• Use framing sparingly to maintain the focus on the main subject.
• A clean, uncluttered frame helps your subject shine.
Photography Essentials


Bonus: How to Choose the Best Camera for Travel

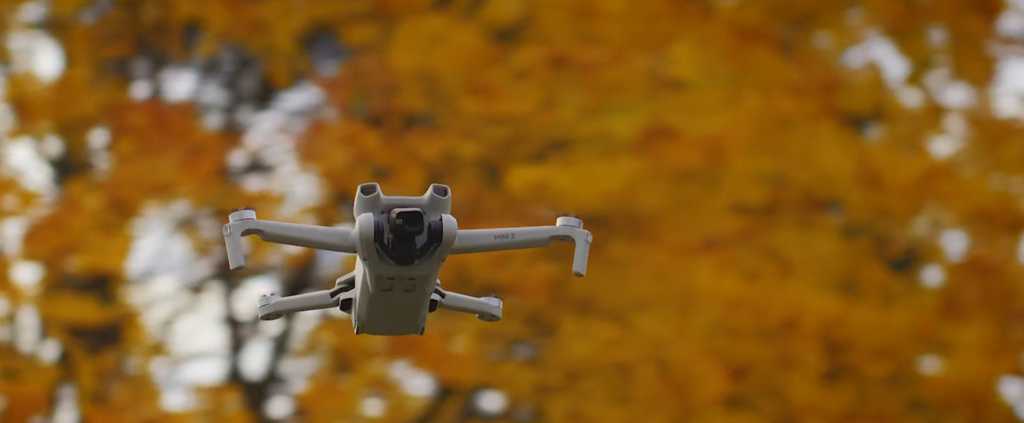
The Best drones under $300: Budget But Quality
When choosing a camera for travel, think about what matters most to you—portability, image quality, and ease of use. Compact or mirrorless cameras are great if you want something lightweight that still produces high-quality images. If you prefer more control over your shots, DSLRs offer flexibility with lenses and settings, but they tend to be heavier. Smartphones are also an excellent option for convenience, providing good quality photos without the need for extra gear. Ultimately, choose a camera that fits your travel style, whether you value portability or the ability to fine-tune every shot.
Wrapping Up the Key Tips for Capturing Stunning Photos
Improving your travel photography doesn’t require expensive equipment—just a willingness to learn and experiment. By mastering the basics, working with light, refining your composition, and capturing your subject’s story, you’ll take your photos to the next level. Shooting in RAW, taking advantage of golden hour, and using the rule of thirds are just a few ways to create stunning images. Practice is key—experiment with different techniques. Whether capturing landscapes, street scenes, or portraits, these tips will help you preserve your travels beautifully. With patience and creativity, you’ll soon have a collection of images that tell your unique story in a visually stunning way.